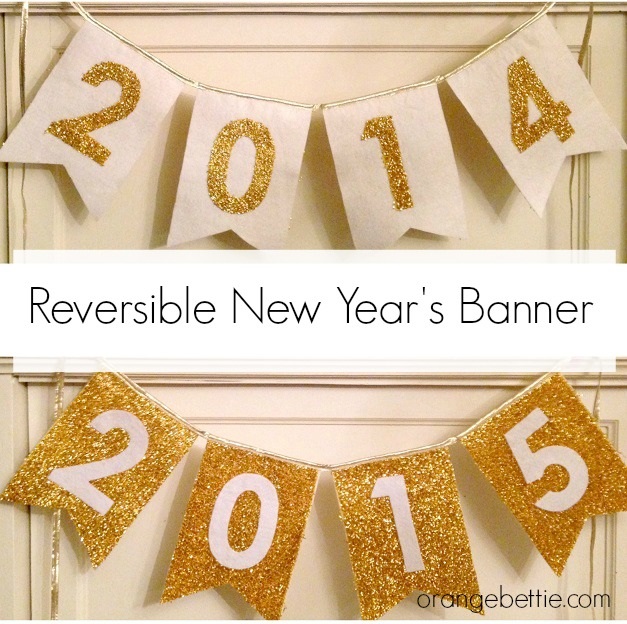
Tutorial - Reversible banner to welcome the New Year

I rarely decorate for New Year's. Like, ever. But this year I thought it would be fun to make a banner to welcome the new year. It was one of those random. "Hey, you know what would be neat..." thoughts that happen when I'm taking a shower. Something about the hot water and the steam gets my brain working, ha!
I rarely decorate for New Year's. Like, ever. But this year I thought it would be fun to make a banner to welcome the new year. It was one of those random. "Hey, you know what would be neat..." thoughts that happen when I'm taking a shower. Something about the hot water and the steam gets my brain working, ha!
This particular flash of shower inspiration is a banner that spells out our current year, 2014.
That is, until midnight on December 31, 2014 at which point I can reverse it to show the new current year – 2015.
I used white felt and some crazy metallic gold fabric from the costume section. It has a rough texture, kind of like AstroTurf but shiny gold.
Given that this banner will probably only be used for about 3 weeks total, I didn’t want to put much effort or expense into its creation. So, it’s a super simple, very low-sew, low-quality material kind of thing. But that’s good when you’re fresh off of Christmas prep and rolling into the new year.
And as I was making it, I was thinking of ways that it could be made even faster and even easier. So I’m sharing a pattern and tutorial, including instructions for the easy method (the one I used), plus easiER, and easiEST variations.
Whichever method you choose, you’ll use the same pattern:
I’ve included numbers 0-9 so you can make this for any year. Once something’s out on the internet it lives there forever, right? You could be reading this in 2018 for all I know.
2014/2015 banner, different fabrics on each side – EASY
Materials:
- ½ yard fabric or felt 1
- ½ yard fabric or felt 2
- 1 yard fusible webbing
- 1 package bias tape
Steps:
- Cut a piece of each fabric big enough to cut out four of the banner pieces. Use fusible webbing to fuse them together (wrong sides together) to create a double-sided piece of fabric. If you are using felt or a synthetic fabric, be sure to use a lower heat setting and a pressing cloth to avoid melting the fabric.
- Cut out the banner pieces.
- Pin the bias tape over the top of each banner piece, sandwiching the banner inside the fold. Leave enough bias tape free on either end of your banner to hang it.
- Stitch the bias tape closed.
- Fuse or glue your numbers to the banner. Cut the numbers for the front from the fabric you used for the back of the banner. Cut the numbers for the back from the fabric you used for the front of the banner. Put the current year on the front of the banner pieces, and the year to come on the back.
2014/2015 banner, same color on front and back - EASIER
Materials:
- ½ yard fabric or felt for banner
- ¼ yard fabric or felt for numbers
- ½ yard fusible webbing, or fabric glue
- 1 package bias tape
Steps:
- Cut out the banner pieces.
- Pin the bias tape over the top of each banner piece, sandwiching the banner inside the fold. Leave enough bias tape free on either end of your banner to hang it.
- Stitch the bias tape closed.
- Fuse or glue your numbers to the banner. Put the current year on the front of the banner pieces, and the year to come on the back.
2014/2015 banner from scrapbook paper – EASIEST
Materials:
- For the banner, 2 pieces double-sided 12x12 scrapbook paper
- For the numbers, 2 pieces 12x12 scrapbook paper
- Favorite adhesive
- Hole punch
- Yarn
Steps:
- Cut banner pieces from the double sided paper.
- Punch holes in the top corner of each banner piece. Thread them on a long piece of yarn, knotting between the banner pieces as needed to keep them from sliding together.
- Cut numbers from your contrast paper and glue them on to your banner. Put the current year on the front of the banner pieces, and the year to come on the back.
4 comments
Comments are closed.


Sooooo cute! Great idea to make it reversible so you get extra 'hang time"!
Very cute - wondered what you were going to do with that gold astroturf fabric!
Super cute!!