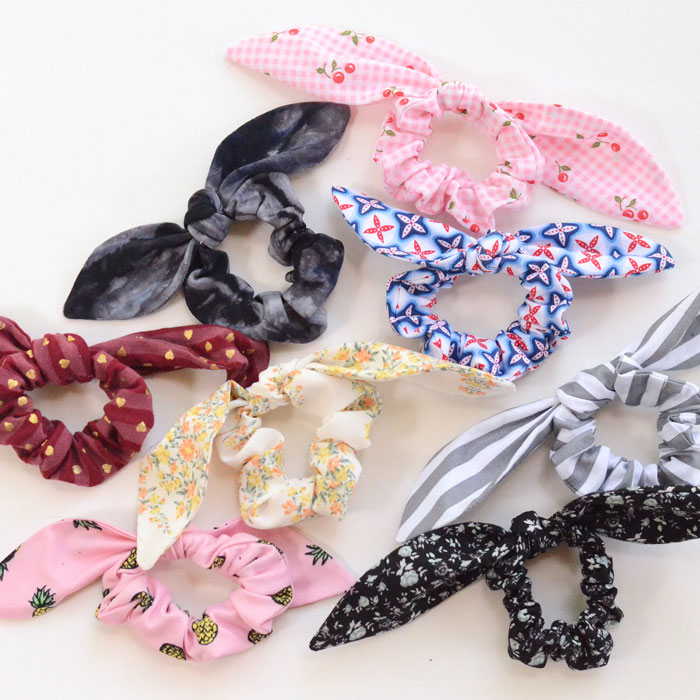
Easy Knot Bow Scrunchie - Sewing Tutorial and Free Pattern
In case you missed it, scrunchies are BACK! But don't buy them, DIY them with this free sewing pattern for a knot bow scrunchie.
This post originally appeared on Bombshell Bling.
I was shopping with my teenage daughter a few weeks ago, and – as always – she comes up to me while I’m paying for her stuff and shows me something else she wants. That day, what she wanted was a set of hair scrunchies. I looked at them and said, “You know I can make those, right?” She had no idea I could work such magic. Sometimes my sewing skills impress her.
It was a few weeks later before I had time to sit down and make them for her, but make them for her I did. Within an afternoon I had a whole pile of scrunchies for her. They’re so quick and so easy, I couldn’t stop with just one!
I’m kind of an overachiever so I added knotted bows to them. The knot bow makes it look like you took the time to tie a pretty little scarf, when all you did was wrap that scrunchie around your ponytail. All of the cute, none of the hassle.
I know people think that sewing for teens is tricky, but honestly I love sewing for my teen daughter! Read my best tips for sewing clothes that teens will love.
I’ve got a tutorial and free pattern for the knot bow scrunchie below! And for even more hair accessory sewing ideas, check out my roundup of DIY hair accessories for teens and adults.
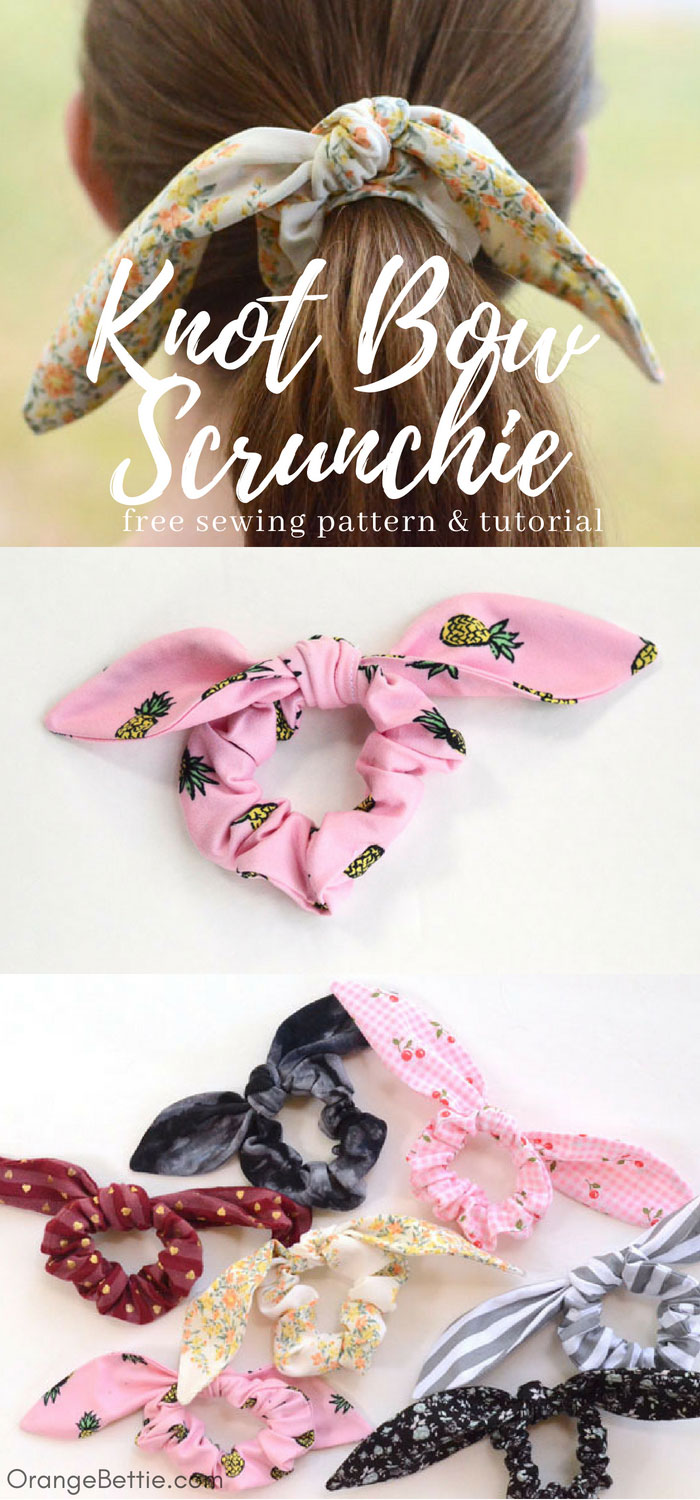
The pattern includes two bow sizes – a longer bow and a shorter bow. I think the longer bow looks best out of lighter weight fabrics, while the shorter bow looks better out of fabrics that have more body to them. You could also omit the bow altogether and just make a plain scrunchie. Totally your choice.
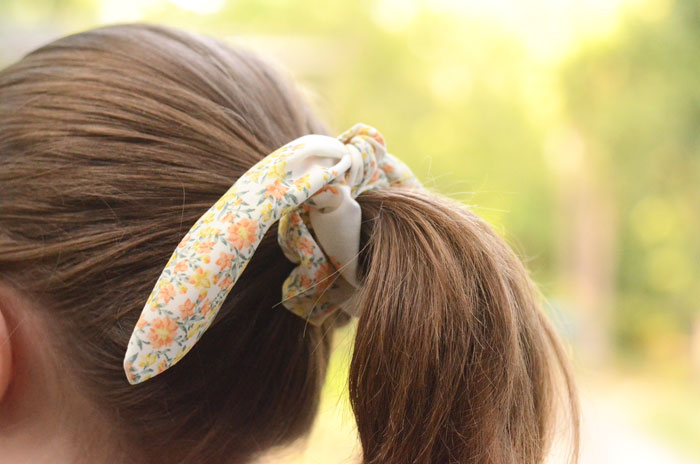
This is what the longer knot bow scrunchie looks like.
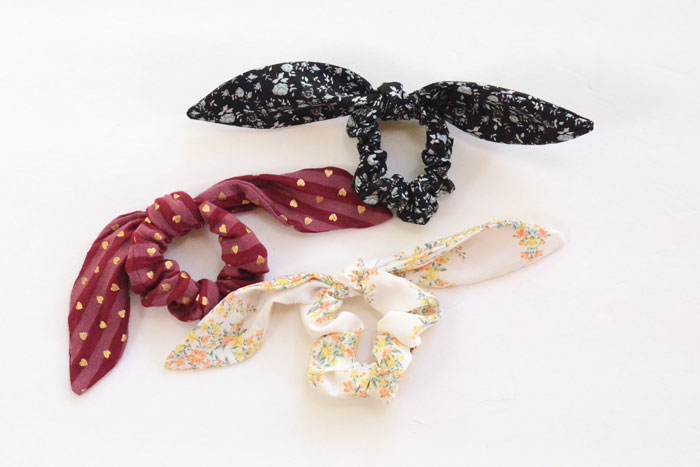
And this is what the shorter knot bow scrunchie looks like.

They don’t take much fabric so check your scrap bin to see what you’ve got that could be sewn into pretty scrunchies. You can use just about any type of fabric for these scrunchies. Stripes, florals, gingham checks. Knits, cottons, silky fabrics. It’s all good when it comes to scrunchies. However you decide to make them, they’re quick and easy and sure to please your teen!
If you love scrunchies, I bet you're also gonna love my scrunchie barrette tutorial! It has the gathered fabric of a scrunchie, but on a barrette base instead of a stretchy ponytail holder.
Supplies
Large fabric scraps
¼” elastic
Safety pin
Dull pencil or wooden dowel (to turn a tube right side out)
Prep your pieces
Cut a rectangle of fabric 3” x 16”. Also cut 2 on fold of EITHER the Long Bowor Short Bow pattern pieces.
Sew the scrunchie
Fold the rectangle in half lengthwise. Stitch down one long side with a ¼” seam allowance.

Turn right side out and press.

TIP: I find it’s easier to turn a tube right side out if I stitch across one of the short ends and then use a wooden towel pushed into that closed end to turn it right side out. Then, once it’s turned right side out, I just clip off that stitched end. It makes my fabric tube about ¼” shorter but scrunchies don’t require precise measurements so that’s okay.
Cut 6.5” of ¼” elastic. Use a safety pin to push the elastic through the tube. The tube is longer than the elastic so it will have to bunch up. I like to put a second safety pin at the other end of the elastic to help keep it from sliding up into the tube.

Stitch the ends of the elastic together, close to the cut ends. I sew back and forth several times across the elastic to make sure it’s secured.

Turn under ¼” on one of the open ends of your fabric tube. Then, slip the other end of the tube inside, overlapping by ¼” or so.

Top stitch close to the folded edge to secure.
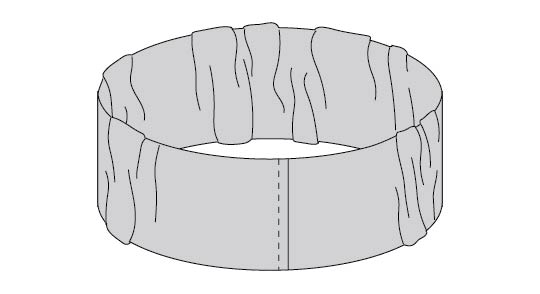
The scrunchie is finished! Now for the knotted bow…
Sew the knotted bow
Place the two bow pieces right sides together and stitch around all sides with ¼” seam allowance. Leave an inch or so to turn right side out.

Clip corners and curves, then turn right side out. The fastest way to do this is to turn it like a tube, using a dull pencil or dowel to push the ends of the bow through the turning hole.
Give it a good press with the iron. Then, press the seam allowances in at the turning hole and top stitch close to the edge to close the hole.

Tie the bow around the scrunchie and you’re done.

Don’t even try to stop at just one!! Go ahead and sew up a stack of them!

19 comments
Comments are closed.

What does cut 2 on fold mean? I’m excited to start making them for my girls! Thanks for sharing!
So happy you're gonna make some for your girls! I hope they love them!! Cut on fold means that you'll need to fold over a piece of fabric so it's two layers, and then line the edge of the pattern marked "fold" up with the fold of the fabric. Cutting on the fold creates a symmetrical shape. It saves time and also helps keep your shapes nice and symmetrical. To cut 2 on fold, you'll start with 2 layers of fabric, folding both of them over and then lining the fold edge of the pattern up with the fold on the fabric. That'll create 2 identical and symmetrical cut pieces.
Hello Bettie. I just love your 15 minute fleece cat hat pattern! I just have 2 quick questions? First is it an adult pattern? and second if it is how would I downsize it to fit a 4-5 size for a child? I would love to make two for my grand-daughters?
Thanks so much!! It's an adult sized pattern but I think you could size it down pretty easily. I don't know the head measurement for a child size 4-5 hat (my own kid is now in her teenage years) so I don't know exactly how much you'd need to take it down to fit them. If it's just a little bit, you could take it out of the middle part of the hat? Just cut it a little narrower on the "fold" edge. If you took more than an inch (1/2 on the fold) the scale of the ears might be off. You could also try reducing the entire pattern by a percentage. You should be able to adjust the scale when you print it. Hope that helps!
Instructions on here say to cut 1 piece - 3" x 16", but pattern says 1 piece - 3" x 14". Which is correct please?
That was my mistake. I had originally made them with a 3" x 14" piece but then adjusted to a 3" x 16" piece. Either size will work - the only difference is that the longer piece will give your scrunchie more "scrunch". I've corrected the pattern to match the instructions. So sorry about that! --Anne
Thanks for the pattern! I've been dabbling in scrunchie making for a while, and have been struggling with the dimensions a little bit. The dimensions for this pattern turn out lovely!
what size is the bow piece
The scrunchie part is a piece 3" x 16". There's a pattern for the bow piece. There are two different sizes depending on how long you want the bow to be. There's a link to the pattern in the supplies list. --Anne
What types of fabric have you found work best for these?
Lightweight fabrics will work best though you can also use a quilting weight cotton. For the white/yellow floral one in the photos, I used a lightweight polyester from the apparel section. For the blue/white/red and gray/white striped ones I used a quilting weight cotton. The lighter weight fabrics will give more drape in the knot bow. A fabric with more body will make a knot bow with more structure. --Anne
I saw one at "Justice a girl's store, there was a really cute one there made with green plaid, I purchased it to go by.
My 11 year old is making them by hand and I want to get her a sewing machine. What kind of machine do you recommend?
What a great first (machine) sewing project!! For a first machine, I would suggest keeping things simple. Look for a machine that will be reliable rather than one that has a million preset stitches and features. I would also suggest one with a drop-in bobbin rather than a front loading bobbin because that will be easier for her to learn to thread.
Thanks so much for the scrunchie pattern. My granddaughter will love them