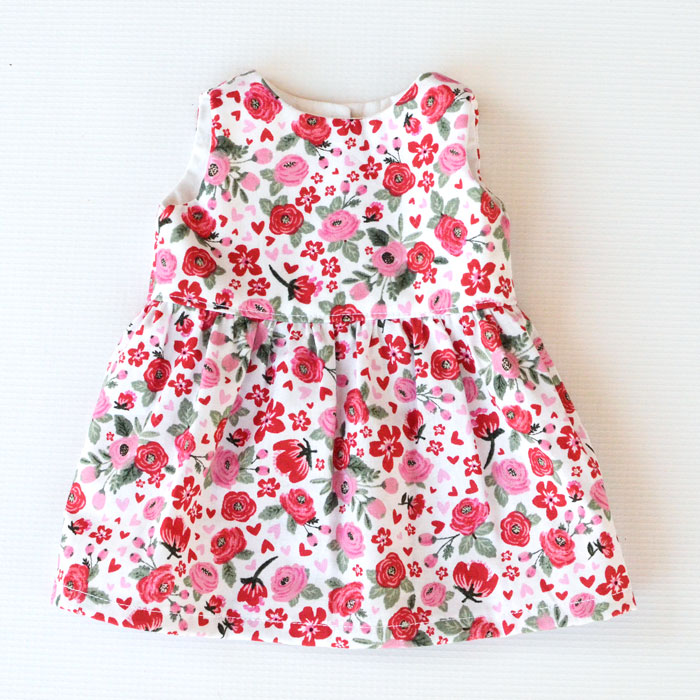
Easy 18” Doll Dress from a Fat Quarter- Free Sewing Pattern
Doll clothes don’t have to be hard to sew! Use my free sewing pattern to make an easy 18” doll dress from a fat quarter of quilting cotton.
For kids, having a doll is more fun when they can change their clothes. But doll clothes are kind of expensive! You can easily spend more money on doll clothes than on buying the doll itself. Trust me, lol. But if you know how to sew, you can make your own doll clothes. And to be honest, I think making doll clothes is a lot of fun!
When my daughter was little, I used to have so much fun making clothes for her American Girl dolls. Maybe even as much fun as she had playing with them. And though it’s been quite a few years since she outgrew her dolls, I still enjoy making doll clothes.
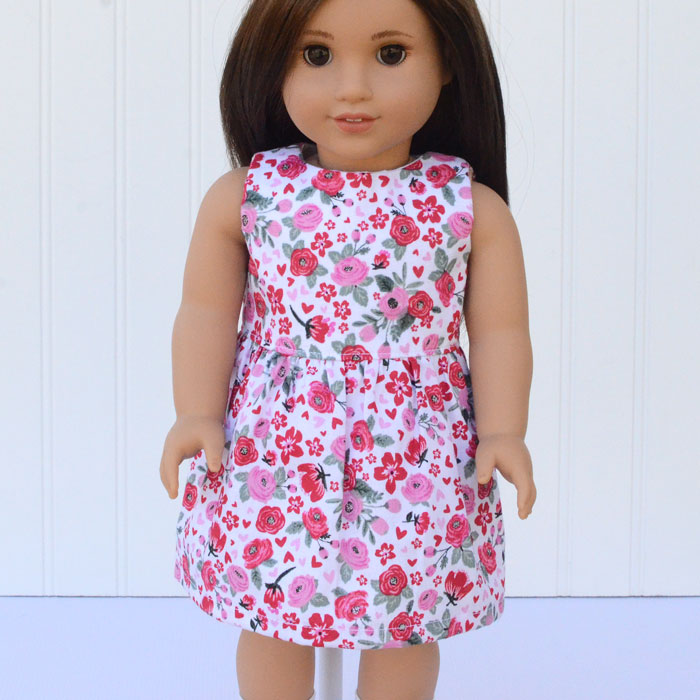
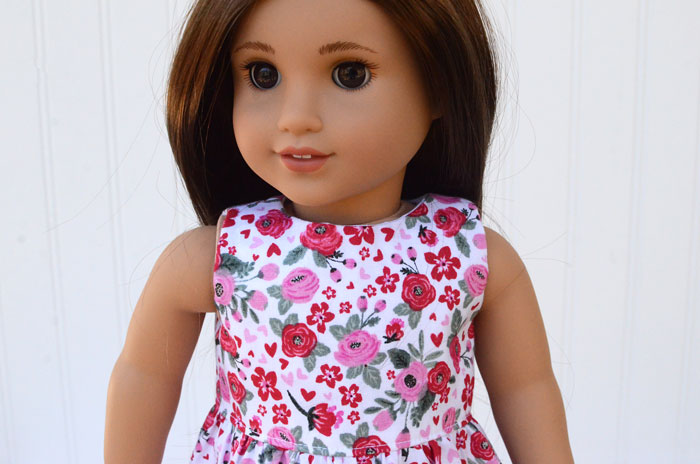
This simple sleeveless dress makes a pretty spring outfit for an American Girl or other 18” doll. You can make one from just a fat quarter of fabric. I’ve got a free sewing pattern for you to use.
The cute spring dress comes just above the doll’s knees. You can use any kind of fabric for this dress, but I like the look of a quilting cotton for this project. Especially a fabric with a small floral print!
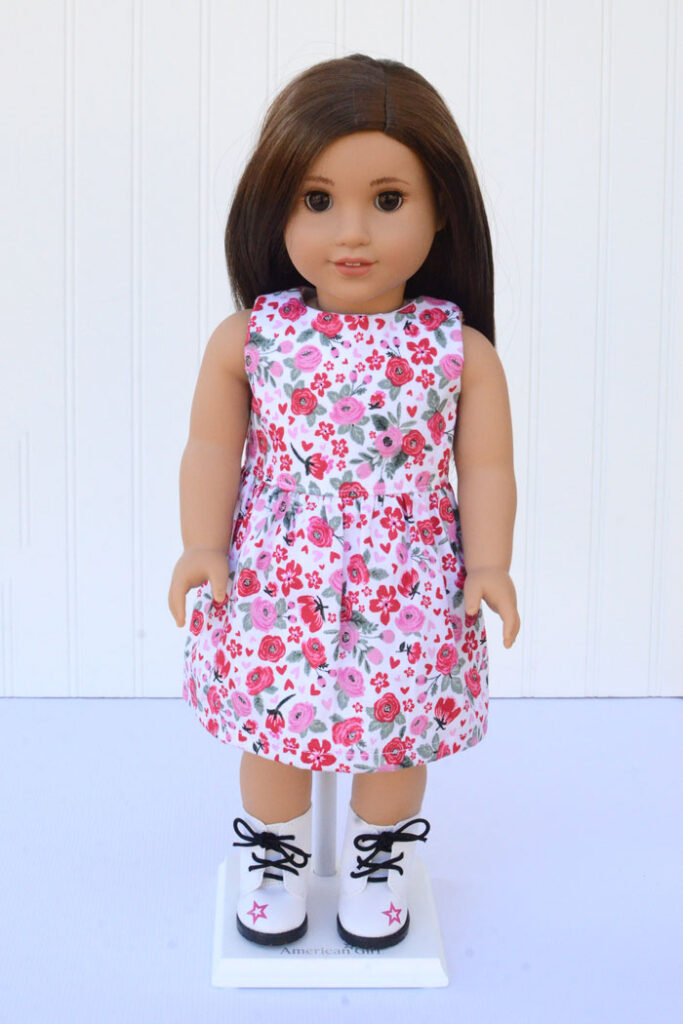
The lined bodice is an easy way to get a clean finish around all the tight curves of the neck and armholes.
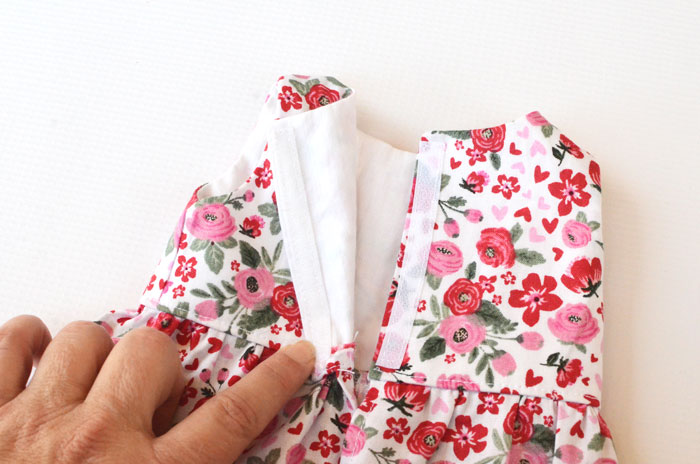
Hook and loop tape makes an easy closure for the back. It’s easy to install and, more importantly, easy for young hands to manage. It’s no fun when doll clothes are too hard for kids to actually put on their dolls!

Be sure to also check out my free doll shirt sewing pattern! It's a simple short sleeve tee shirt with options for either a basic tee and a ringer tee.
Supplies
Main Fabric – Fat quarter or ¼ yard quilting cotton
Lining – Large scraps quilting cotton. I usually cut the Lining from the same fabric as the rest of the dress but if your Main fabric has a bright print on a light or white background, you may want to make your lining from a white or light fabric so it doesn’t show through.
¾” Hook and Loop Tape – 1 piece, 3 ¼” long
Free sewing pattern – Easy 18” Doll Dress

All seam allowances ¼”. RST = Right Sides Together
Prep
Cut the pattern pieces from your fabric. In addition to the printed pattern pieces, you will also need to cut a long rectangle 6 ¾” tall x 22 – 28” wide from the Main Fabric. This piece will be the Skirt. The wider the rectangle, the more gathers the skirt will have.
A fat quarter has just enough width to cut a Skirt panel that’s 22” wide. If you want a fuller skirt, you’ll need to use a wider piece of fabric to cut a longer Skirt panel.
Sew the Bodice
Sew the Main Fabric Bodice Front to Bodice Back at shoulder seams RST. Then repeat with the Lining Fabric bodice pieces.

Press shoulder seams open.
Place the Main Fabric Bodice and Lining Bodice RST. Starting at bottom, sew up one side of the center back opening, around the neck, and then back down the other side of the center back opening.

Now sew around the armholes. Sew just the armholes – leave the side seams open.

Clip curves, then turn right side out.
It’ll be tight when you turn the Bodice Front/Back through the shoulder seams, but it’ll fit. Just take it slow and it’ll come through.
Now to sew up those side seams. Open out the Front and Back bodice at one of the sides, then place the Back Bodice and Front Bodice RST, matching Main Fabric to Main Fabric and Lining to Lining. Sew at the side in one straight seam.


Repeat with the other side seams to complete the Bodice.
Sew the Skirt
Hem the short sides of the Skirt piece with a double-fold ¼” hem.

For a double-fold hem, press the edge over twice so the raw edge is completely encased. You can sew the hem in place by stitching close to the folded edge.
Sew a line of basting stitches ¼” from the top of the Skirt, leaving long threads at the beginning and end of your seam.

Sew another line of basting stitches 1/8” down from that first line, again leaving the threads long at the beginning and end of the seam.
Basting stitches are basically just stitches sewn with the longest stitch setting on your machine. The long stitches are easy to rip out (which is why they’re used for basting), but they’re also good for gathering fabric.
Pull the threads to gather the fabric to 13” long, distributing the gathers evenly. Secure the threads at the end, either by knotting them or by wrapping them several times around a pin placed in the fabric. (I prefer the pin method because it’s not as permanent as a knot in case I need to make adjustments.)

Sew Skirt to Bodice
Place Skirt right side up. Pin Bodice to the Skirt along the waist RST, aligned at the left edge but with the skirt stopping ½” before the right edge of the Bodice.
This extra bit at the end of the Bodice creates an overlap for the back closure later in this tutorial.

Sew the Skirt in place. With a ¼” seam allowance your stitch line will be right between the two rows of basting stitches.
Press the seam allowance to the Bodice side of the seam.

Turn Dress right side out, then top stitch along the bottom of the Bodice close to the waist seam.

The bottom line of basting stitches will be visible on the Skirt, just barely below the waist. You can remove these basting stitches.
Sew the Back Closure
Fold Dress in half lengthwise, RST. Sew back seam, starting at the bottom and going up 3 ¼”. Back stitch at the end of this seam.

Press the back seam open.

Hem the bottom of the Skirt with a1/2” double fold hem.

Cut the Hook and Loop Tape in half lengthwise so you have two long skinny strips. You’ll only use one strip for this shirt. (That means you need to make another dress to use that leftover strip!)
Place the Dress flat with right sides up. Place the Hook side of the tape along the right edge of the opening, with the top of the tape close to the top of the Bodice. Sew in place around all 4 sides of the tape so it’s good and secure.

Now, take the Loop side of the tape and sew it to the LINING SIDE of the left opening. Sew around all 4 sides of the tape, just like before.

Your 18” doll dress is finished!

