
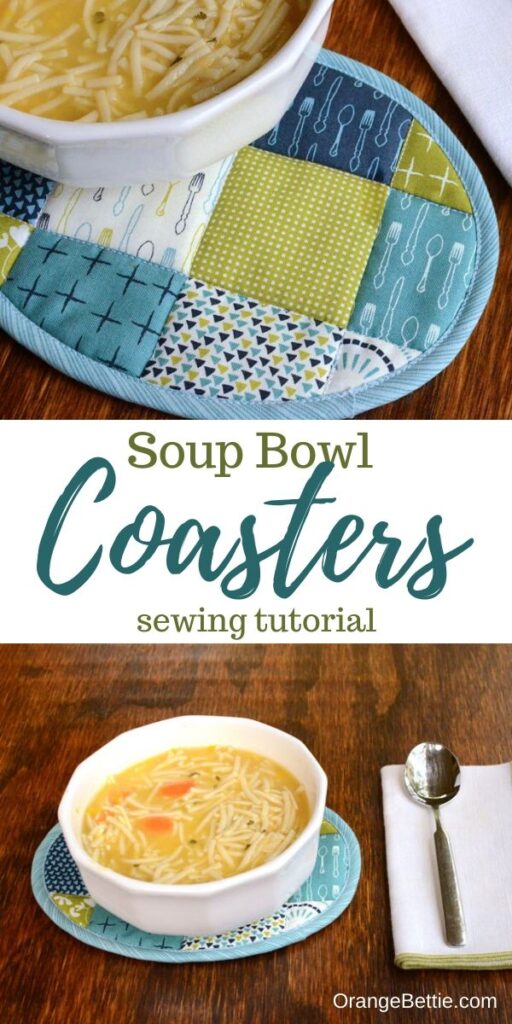
Patchwork Soup Bowl Coaster Sewing Tutorial
See how to sew a simple soup bowl coaster to protect your table from a hot bowl of soup! Easy sewing tutorial is great for using up fabric scraps.
This post originally appeared on Bombshell Bling.
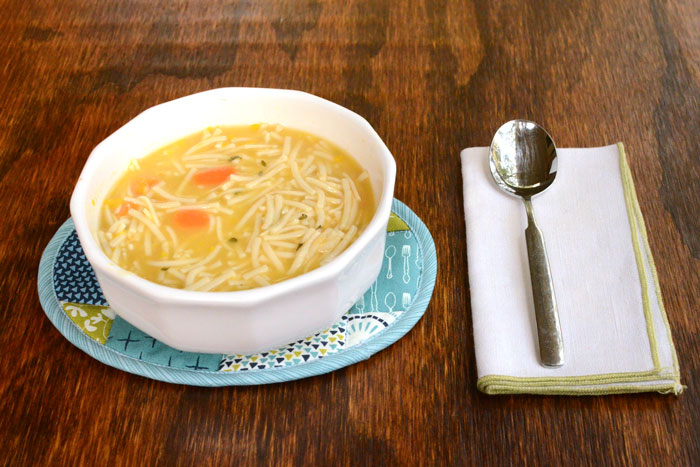
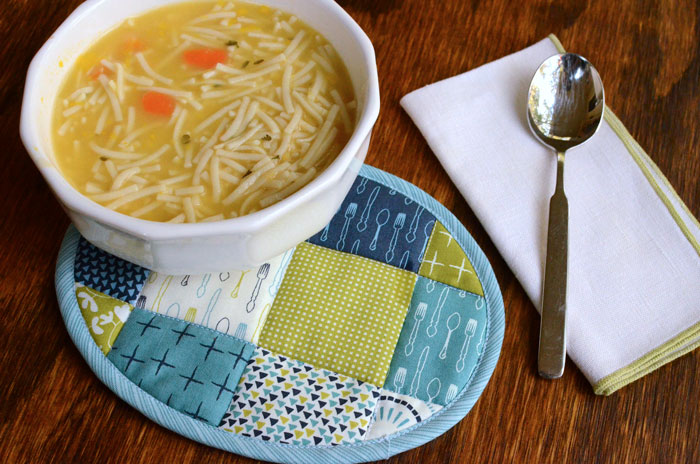
There’s no better lunch on a cool fall day than a warm bowl of soup! Protect your table from a warm bowl of soup with this handy little soup bowl coaster.
Larger than a cup coaster but smaller than a placemat, the soup bowl coaster is sized just right to fit under a soup bowl or large mug. It’s quick to sew and doesn’t require a large amount of fabric or expensive supplies, so it makes a great handmade gift for friends, coworkers, and neighbors.
I created my soup bowl coaster after having lunch at my mom’s house. I had just reheated a bowl of chili in the microwave, and looked around for something to use to carry the warm bowl to the table. The closest thing at hand was a really small and rather sad looking oval pot holder. And while it was smaller than what I would feel comfortable using as a pot holder, it was perfect to sit under the soup bowl!
As I was eating my chili, I kept looking down at that pot holder under the bowl and thinking that I’d like to have one for my own self! So I grabbed a ruler and wrote down the dimensions, and went home and stitched this one up.
I kept the dimensions mostly the same, but I made one small improvement when I sewed my soup bowl coaster. I used 100% cotton fabric and 100% cotton batting so it can go in the microwave with my bowl.
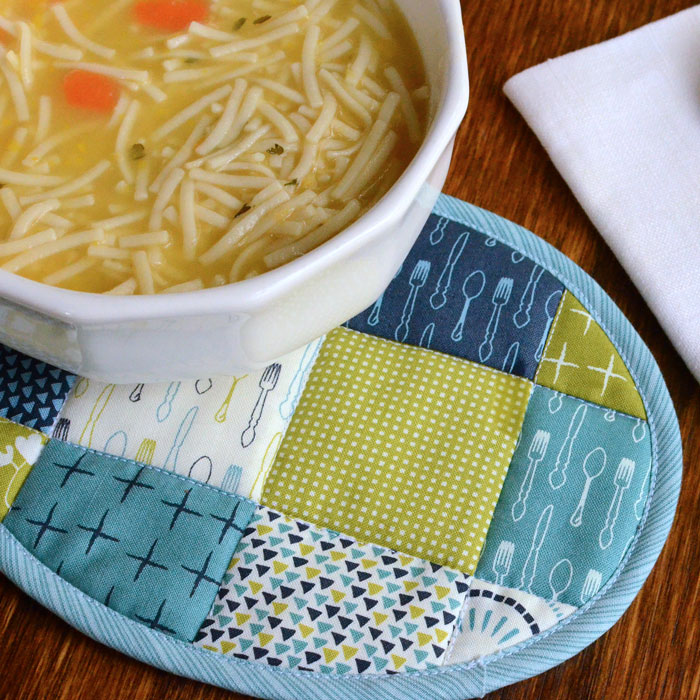
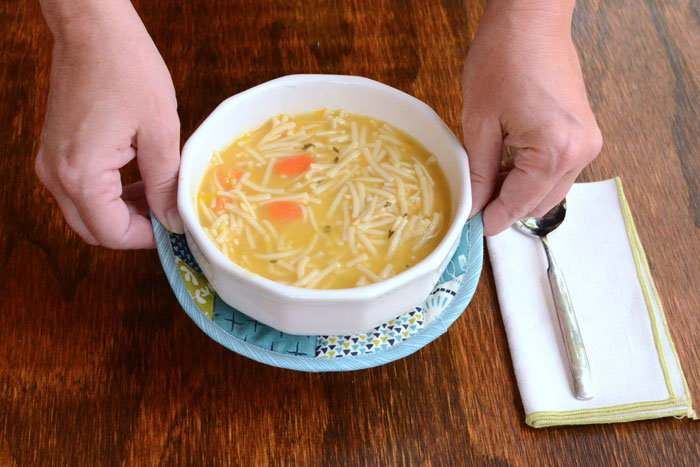
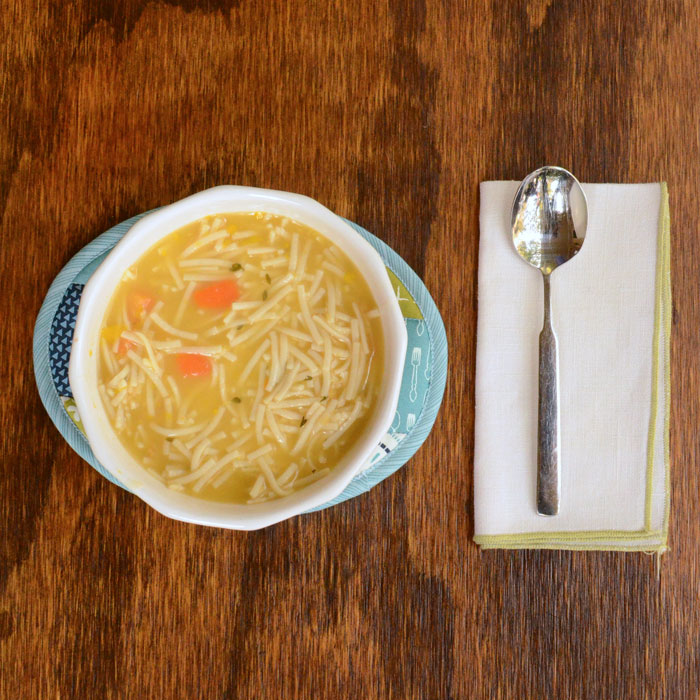
The oval shape gives it a little extra at the sides to pick it up and carry it to the table.
At the front, though, there’s just a little of the coaster peeking out from the bottom of the bowl so you don’t have to worry about dribbles and spills. Though if you do happen to get a spill on it, all you need to do is run it through the wash.
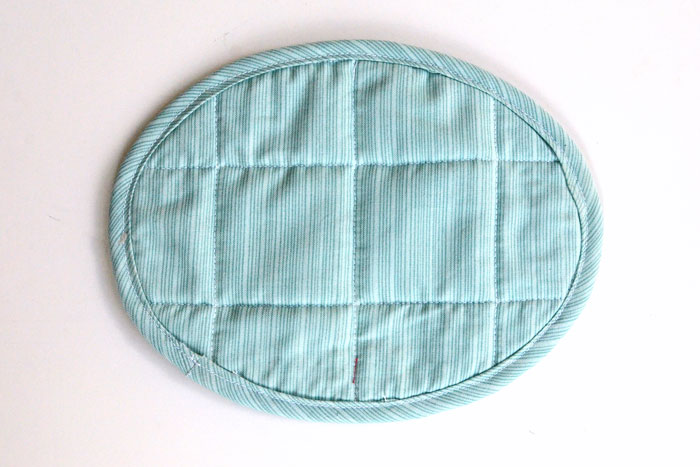
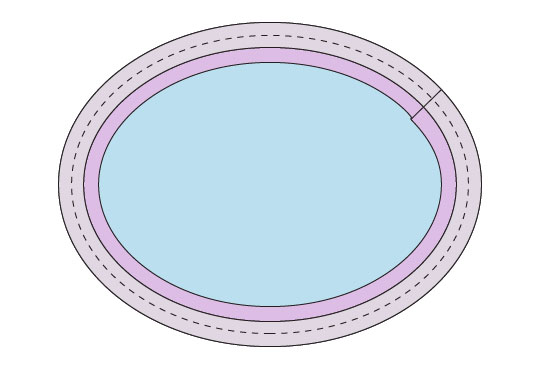
Two layers of cotton batting inside the coaster help protect your tabletop from a warm soup bowl. The edges are finished with bias tape, which creates a clean finish on the front and the back.
I made my own bias tape out of the same fat quarter I used for the backing. The solid color bias tape at the fabric store is nice enough, but I’m kind of a sucker for a pattern on a bias tape. And it gives a neat finish to the back of the coaster when the bias tape matches the backing.
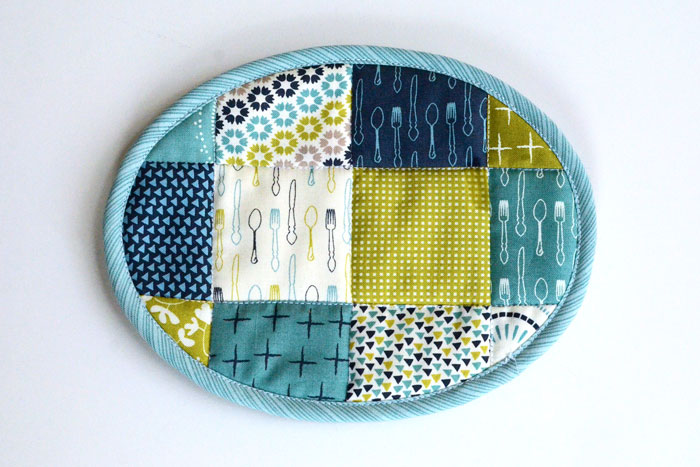
The soup bowl coaster is a great scrapbusting project! Pull out your scrap bin and piece the top together, from scraps large or small. Mini charm packs also work well for this project. Or, if you want to knock it out real quick, just cut the top from a solid (as in, non-patchwork) piece of fabric. Quick and easy!
This soup bowl coaster would also look super cute out of some mini string blocks sewn up from your smallest fabric scraps. You can see how to make mini string blocks here.
Supplies:
If you want to be able to put your soup bowl coaster in the microwave, be sure to use 100% cotton fabric, batting, and thread.
Soup coaster top (main fabric) – 1 piece 6.5” tall x 8.5” wide quilting weight cotton fabric. You can piece this from scraps or just cut it from a single piece of fabric.
Soup coaster backing –1 piece 6.5” tall x 8.5” wide quilting weight cotton fabric
Batting – 2 pieces 6.5” x 8.5” tall x 8.5” wide 100% cotton batting
If you want to use mini charm squares for the top, you’ll need 12 squares pieced together into 3 rows with 4 squares in each row. When you piece the squares together, your dimensions will be slightly different than the ones listed above. That’s okay. Just cut the backing fabric and the batting the same size as your pieced mini charm panel.
Sew a soup bowl coaster:
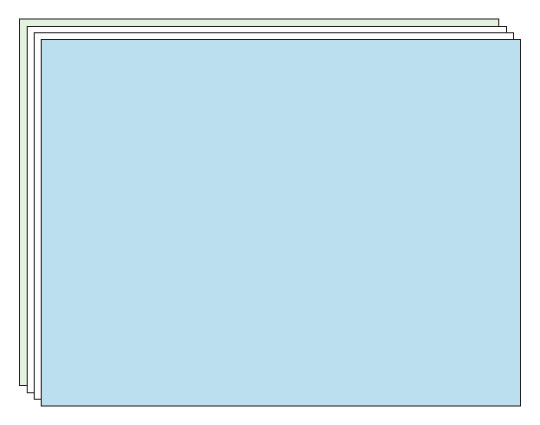
Layer your fabric and batting pieces to make a sandwich:
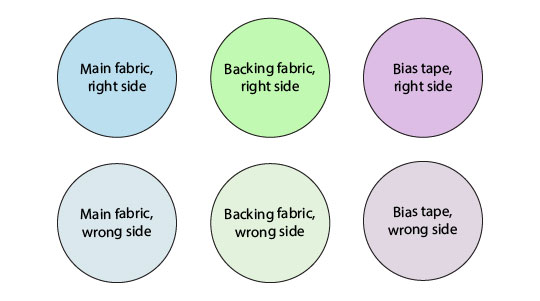
-- Backing fabric wrong side up
-- Cotton batting, 2 layers
-- Main fabric, right side up
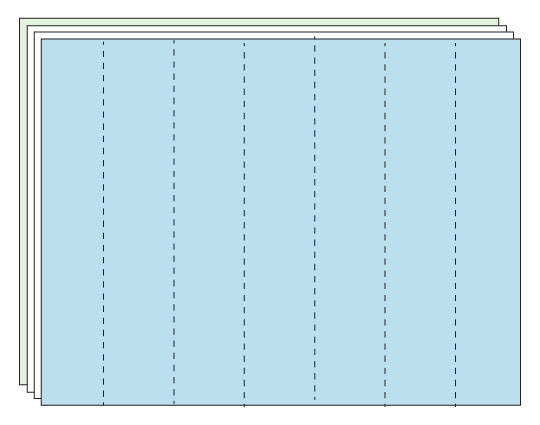
Quilt the layers together. You can stitch straight lines, curvy lines, any kind of lines you like to quilt the layers.
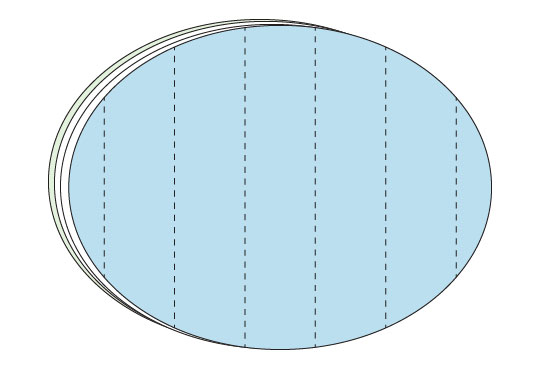
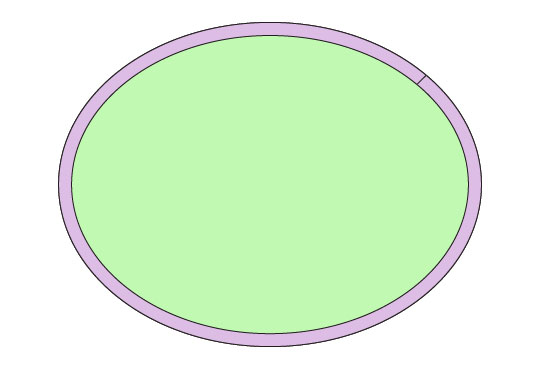
Place your pattern on the quilted fabric and cut out the coaster shape. The pattern has markings that show the middle of each side, in case you want to center a pieced design on your coaster.
Open up one side of the bias tape and sew it around the front (outside) of the coaster in the ditch of the fold, right sides together and raw edges touching. Ease the tape around curves. Then sew all the way around and overlap the beginning by about ¾”.
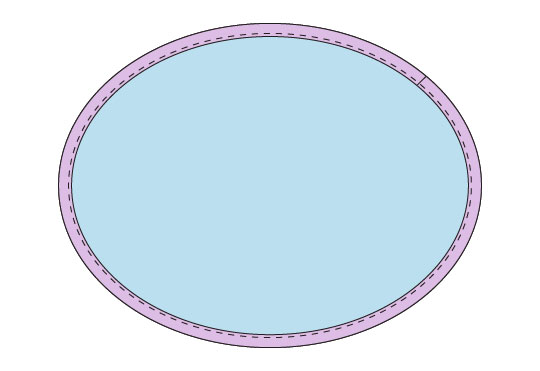
Flip the bias tape around the raw edges of the coaster to the backing side, and glue it down with the folded edge of the bias tape just barely past the stitch line. Then press with a hot iron to dry the glue.
Flip the coaster back over and top stitch the bias tape down 1/8” from the seam.
That’s it! Your Soup Bowl Coaster is finished!!