
Tutorial: Vintage sheet dry erase board
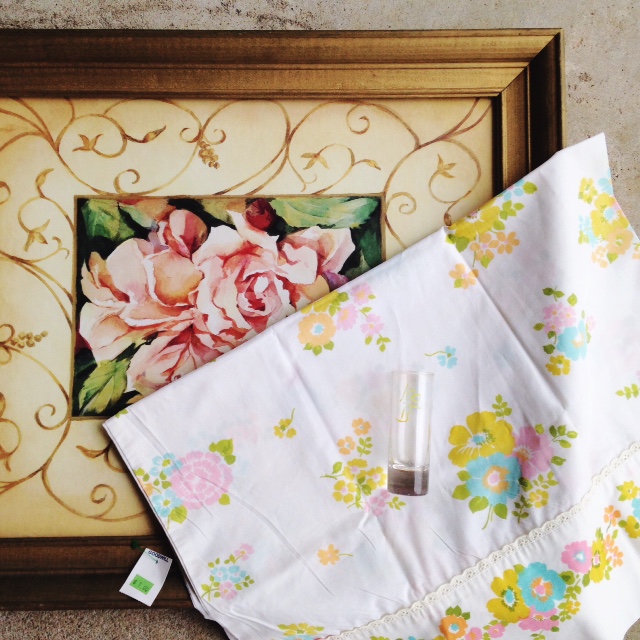
I teased you last week with a peek at the random collection of Goodwill items I’m using in today’s Goodwill craft. An ugly art print, a vintage pillowcase, and a tall shot glass.
And what did I make?
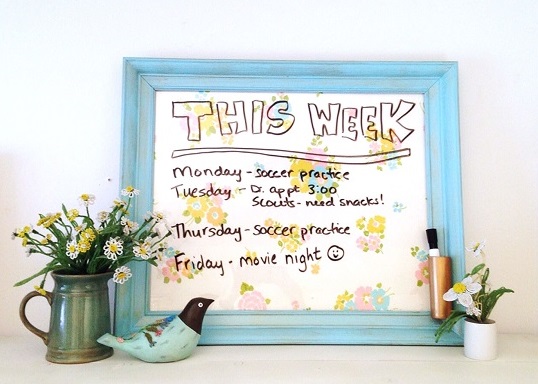
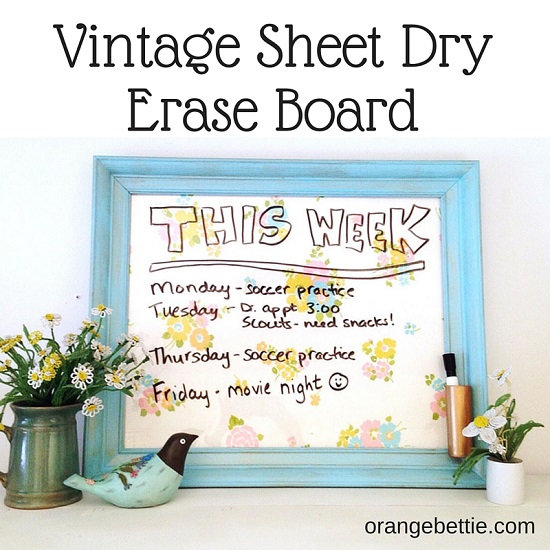
A vintage pillowcase dry erase board! With a little cup glued to the frame to hold your dry erase marker. I got this idea from a friend of mine, who recently brought dry erase wall coating. I really liked the idea of it, but I just thought I would try something a bit different.
Do you love vintage pillowcases as much as I do? Here's another cool project you can make with a vintage pillowcase.
Here's what I started with.
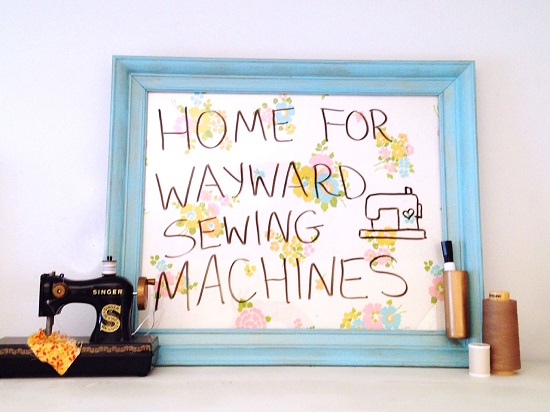
What can I say… I am so in love with my new message board!! I originally planned this to be a message board by my back door, but the colors and the style suit my sewing space perfectly! The only problem? My sewing studio is so packed with shelves that there’s no wall space available! I’m not giving up though. I’ll find a way to make it fit.
And did you know that glass makes a far superior dry erase surface than actual dry erase boards? It’s true! The dry erase marker wipes so easily off the smooth glass surface AND there are no ghost images left behind.
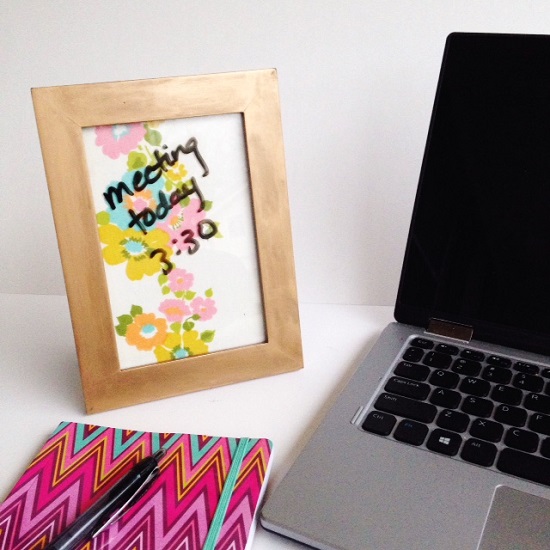
You can also make small ones to sit on your desk for short notes. Same idea, just on a smaller scale.
DIY Vintage Pillowcase Dry Erase Board
Materials:
- Large framed print (Goodwill)
- Vintage pillowcase or other pretty textile (Goodwill)
- Tall shot glass (Goodwill)
- Acrylic craft paint or spray paint
- Cardboard or foam core with no writing on it and the same size as the print – if your print comes with a separate cardboard backing that isn’t marked up, that is fine to use. The fabric will be wrapped around the cardboard so really this is just to make sure that the print (or other markings) don’t show through the fabric. My print was glued to the cardboard, which also had writing on the back, so I couldn’t reuse it for the project. REWORD
- Packing tape
- Rub n Buff was metallic finish
- E6000 adhesive
Many of the steps and supplies are actually optional. It really depends on the frame that you use. If you like the color of the frame, you can skip all the painting steps. And if your print has a cardboard backing that isn’t covered with writing or anything that will show through the fabric, you can just use that instead of buying a piece of foam core or scrounging around for a blank piece of cardboard.
Also, the shot glass is optional. The shot glass will become a pen cup, so if you don’t want a pen cup then there’s no need for those steps. The Rub n Buff metallic wax is another optional – but totally fun – supply. It’s not expensive though and the stuff is like magic. It turns everything metallic! One small tube also happens to last forever, so it’s a good thing to keep in your crafty toolbox.
I used a vintage pillowcase, but any pretty textile will work. Just make sure that the print isn’t too dark or too busy that you won’t be able to see the message you wrote.
So with all that said, here’s how to make it:
- Take the print and the glass out of the frame.
- Paint the frame using spray paint or craft acrylic paint. My plan was to use spray paint, but then the weather man forecast about a million days of rain so I went with the craft paint I could use inside the house.
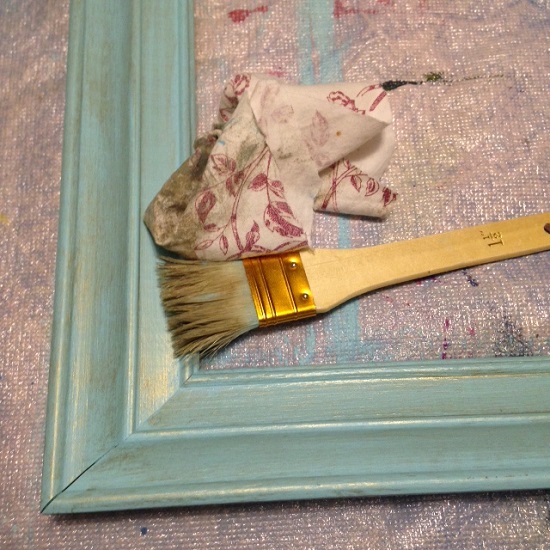
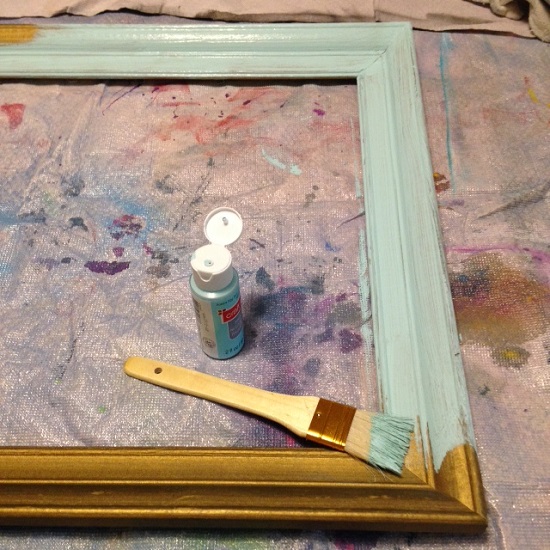 After I put down a base coat of light blue, I went over with a metallic gold paint to add some interest. I dabbed on the gold paint with a dry brush, then wiped most of it away with a rag.
- Cut the cardboard or foam core to the size of the print.
- Cut the pillowcase down the side seam and across the bottom to get one flat piece of fabric. Iron it to eliminate all wrinkles or creases.
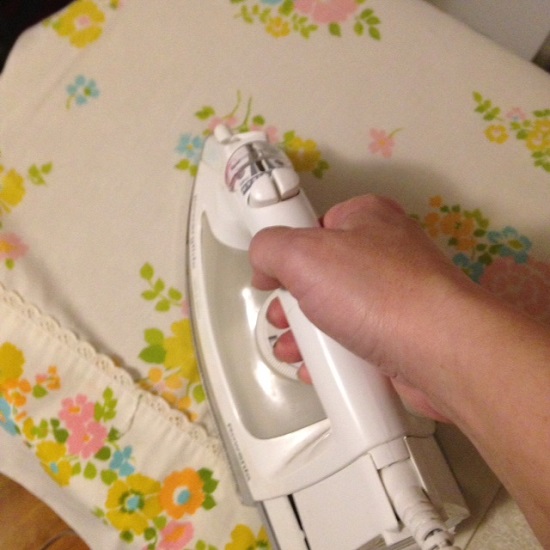
- Lay the fabric face down on the table, and then place the cardboard piece on top. Cut the fabric around the cardboard with about a 3” margin on all sides. (Before you cut, check the placement of any large motifs.)
- Fold the fabric up over the sides of the cardboard. Use packing tape to secure in place.
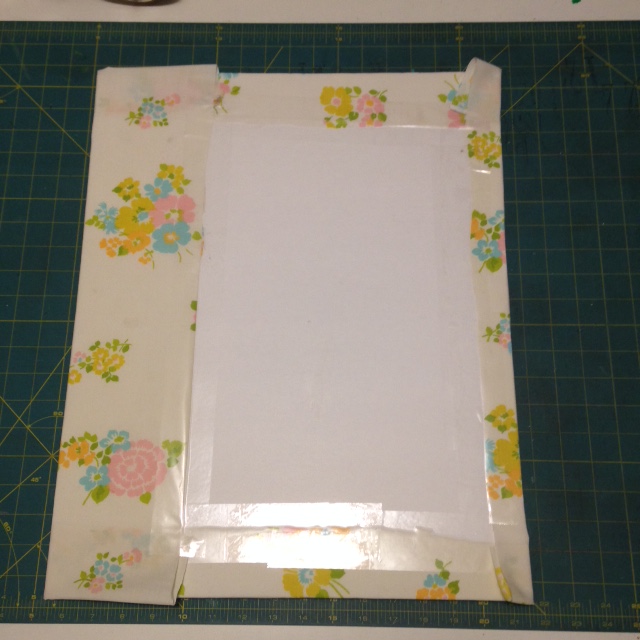 My fabric clearly wasn’t centered over the cardboard. That’s because there were stains on the fabric that I was trying to avoid placing front and center on the dry erase.
 - Reassemble the frame with the fabric piece behind the glass. (You’re basically replacing the ugly print with the fabric wrapped cardboard.)
- Now for the pen cup. I thought my shot glass looked a little too much like a shot glass so I covered it with Rub n Buff. Also because it’s fun to make things gold. Squeeze a tiny bit of Rub n Buff on to a rag. A lot goes a long way!
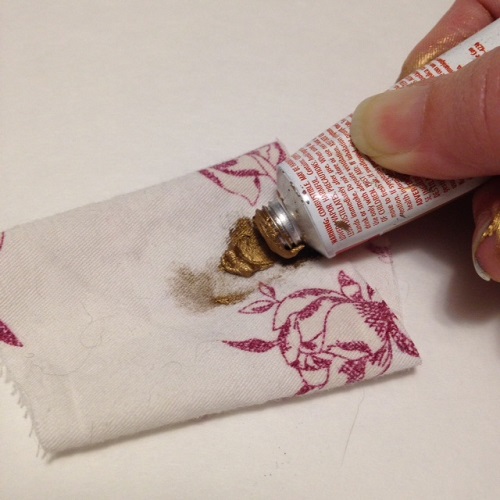 and then rub it on to the surface of the cup.
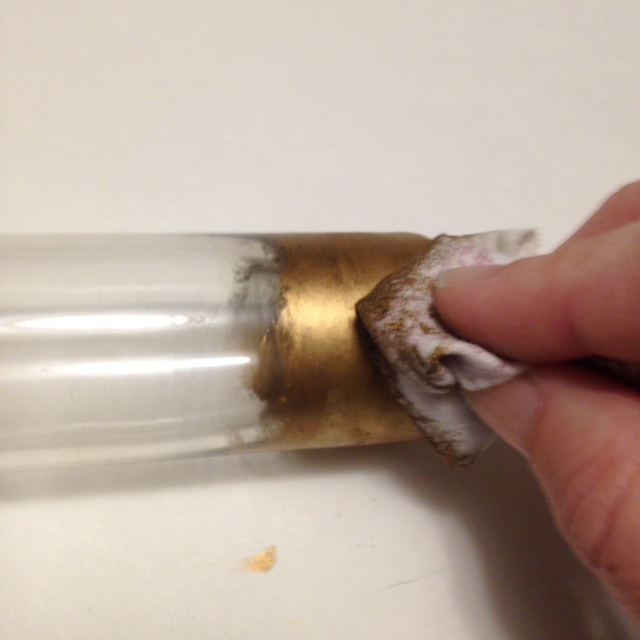 Keep rubbing and adding more wax until the outside of the glass is covered.
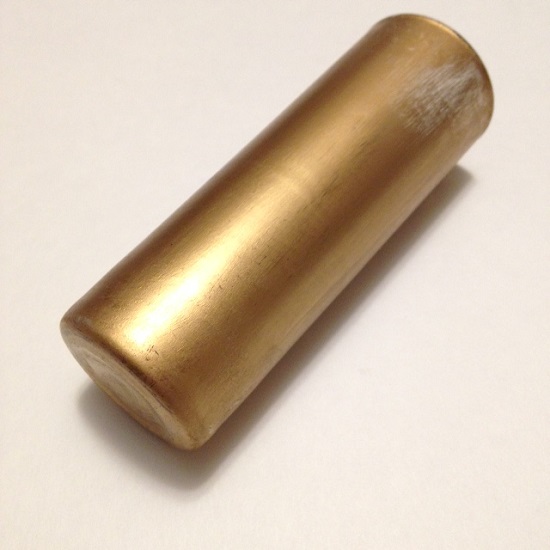
- Use E6000 to glue the shot glass to the frame as a pencil cup.
 Your vintage sheet dry erase board is complete!
6 comments
Comments are closed.

Absolutely adorable!! I love this!
I am going to try this. Wonderful idea.
certainly I love this!
Hello outstanding blog! Does running a blog such as this require a lot of work?
I've absolutely no knowledge of coding but I was hoping to start my
own blog in the near future. Anyhow, if you have
any recommendations or tips for new blog owners please share.
I understand this is off subject but I just had to ask.
Thank you!