

Faux Fur Ear Warmer Headband - Easy Sewing Tutorial
Sewing a faux fur ear warmer headband is easier than you think! You can make one in 20 minutes with my easy sewing tutorial.
This post originally appeared on Bombshell Bling.
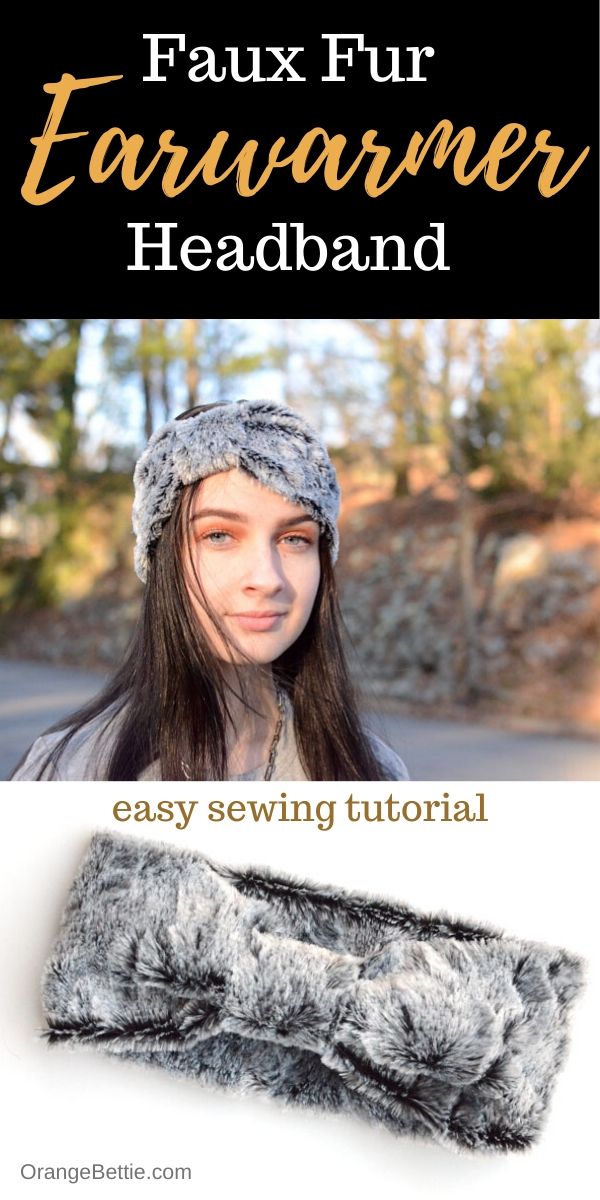
This faux fur ear warmer headband is my new favorite thing for cold weather! The faux fur is sooo soft on your ears, and it fits nice and snug around your head so it keeps you warm.
Don’t let the lusciousness of the faux fur fool you, because this ear warmer is actually really easy to make. And fast, too. Like, you can make one in 20 minutes start to finish!
I’ve got a tutorial for you below.

I’m loving it made out of this gray and black faux fur! The different colors in the fur show the gathers of the knot bow detail. I think it would also be nice out of a snowy white faux fur.
The supply list for this project is pretty short. All you need is ¼ yard faux fur with some stretch. The stretch part is kind of important, because it’ll need to stretch to fit snug around your head.
And actually, ¼ yard will be enough to make TWO. So make one for yourself and give one to a friend! Or invest an evening and a whole yard of fabric and make enough to give out to your friends for Galentine’s Day. You’d be everyone’s favorite friend!
These knot bow scrunchies are also an easy gift to make for friends. Plus you can sew them from fabric scraps so they don't cost a lot of money to make!

How to Sew a Faux Fur Ear Warmer Headband
Supplies
¼ yard faux fur (with some stretch)
All seam allowances ½.”. RST = Right Sides Together
Cut your fabrics
For each ear warmer, you’ll need
1 piece 9” x 22” faux fur, with stretch running the long way
1 piece 5” x 5” faux fur
Sew the ear warmer
Fold the 9” x 22” piece in half lengthwise and RST. Sew down the long open side in order to create a tube.

Turn the tube right side out, and position the seam line so it goes down the middle of one side.

Place one end of the tube inside the other tube, with about ¾” overlap, to create a circle. Sew down the overlapping edge to hold it in place. There will be a raw edge showing, but that’s okay because we’ll cover it up with the knot.

Now, take the 5” x 5” piece and fold it in half, RST. Sew down the long open side to create a tube.

Turn the tube right side out, and position the seam line so it goes down the middle of one side.

Now, fold the tube around the ear warmer, RST and covering up that seam where we closed the circle. The tube is shorter than the ear warmer so you’ll have to bunch it up to get it to fit. Sew the layers of the tube together, while being careful not to catch the ear warmer in your seam.

Turn the small tube right side out. It’ll take some fiddling since it’s sewn around the larger ear warmer, but you can do it. The tube should stay put covering up that seam, but you could also secure it with a few hand stitches if you wanted to be sure.

Your ear warmer is finished!

