
Tutorial: Serged scrap wrap bracelet
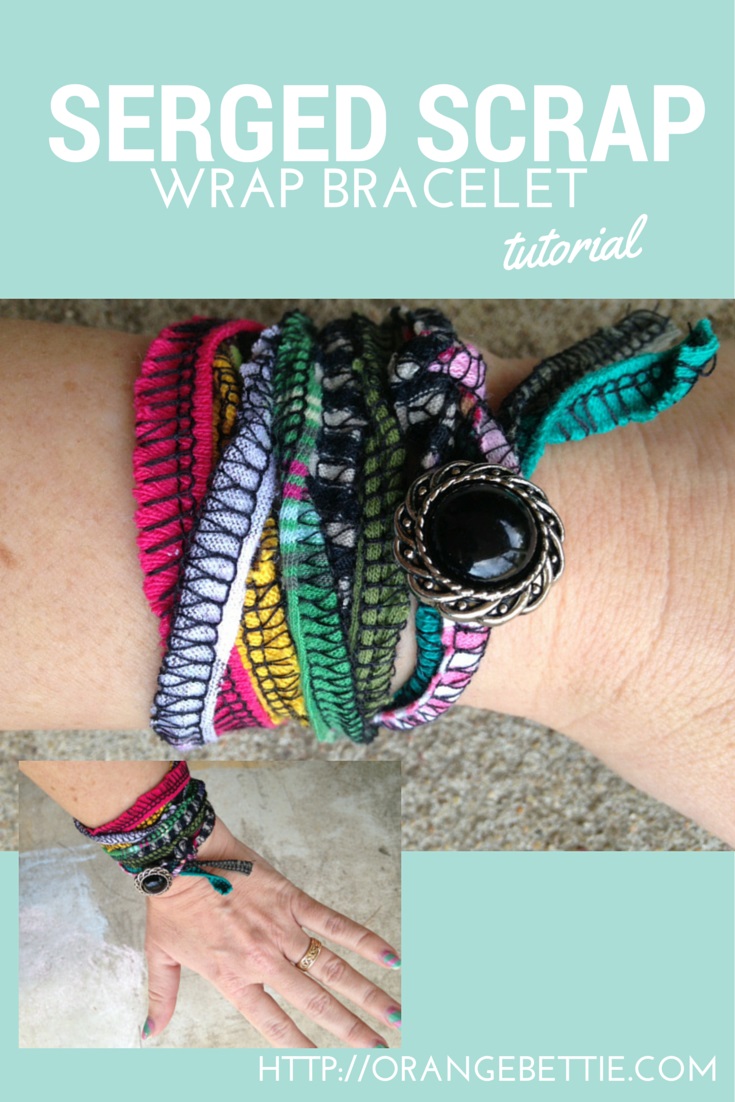
I have a hard time throwing away scraps. I can make a good case for saving my tiny bit of quilting cottons, because I can use them for all kinds of scrappy projects. But those smaller bits of knit fabrics –they’re harder to use up.
Last week I started playing with my knit scraps and my serger, and I came up with fun way to repurpose those scraps into a colorful scrappy wrap bracelet. The black serger thread – literally and visually - ties all of the random scraps together.
They’re so so so easy to make. And quick. I can make one start to finish in about 10 minutes.
All you need to make this bracelet are a pile of knit scraps, a serger, and a button.
Here’s how to do it:
First, gather up your scraps of knit fabric. You’ll need bits of fabric between 2 inches and 8 inches long.
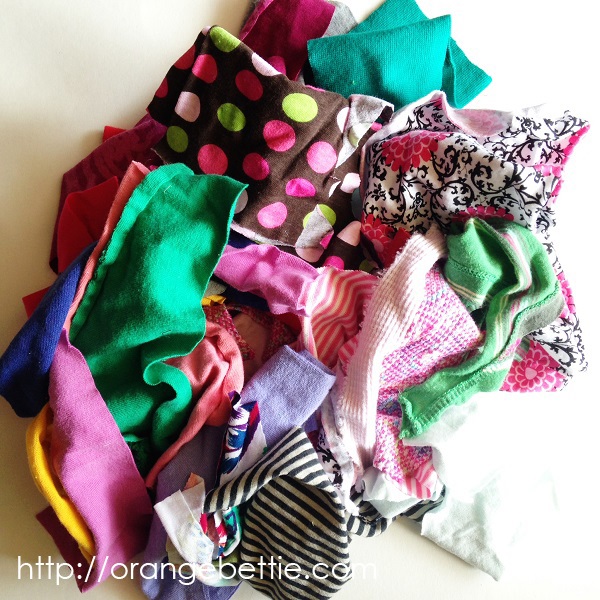
Put them in a big ol’ pile next to your serger.

Choose one at random, and serge down the side.

When you get about 3/4” from the end, pick another scrap from your pile and layer it on top. Keep serging.

Repeat again and again and again.
You’ll end up with what looks like the world’s most pitiful bunting, with weird bits of randomly shaped knit scraps as your flags.
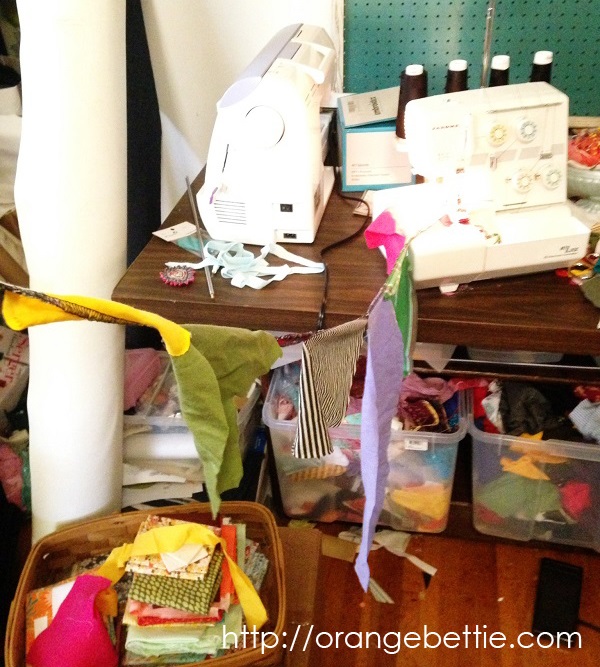
Yes, that pile of mess is my sewing studio. I used to think I'd get it cleaned up one day, but I've given up on that fantasy. I create in chaos.
Keep on till you have a weird bunting that’s 60” – 65” long.
Now, all you need to do is trim the serged edge off of the scraps. Cut close to the serging, but don’t cut through it.
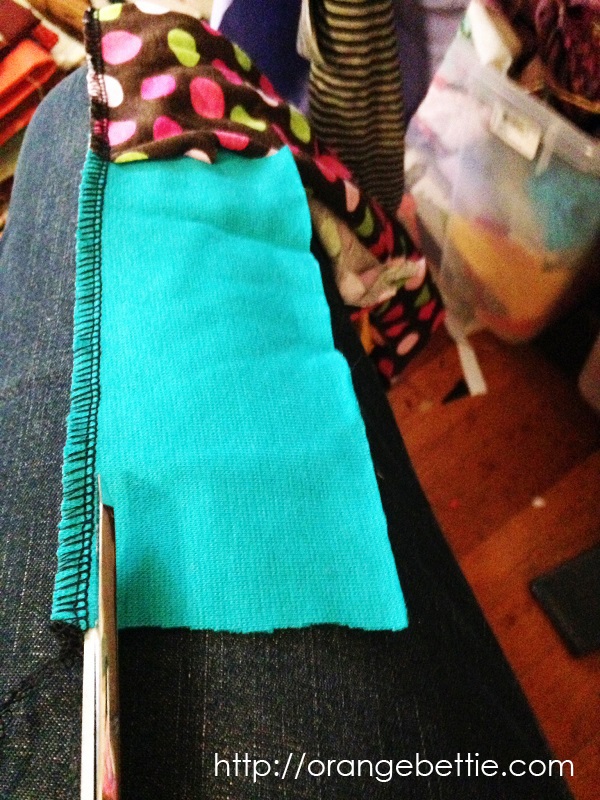
If you want to turn a LOT of scrap into wrapped bracelets, you can serge a super long strip and then cut it into 60” – 65” lengths. You don’t have to wait till the whole strip is serged before you trim it. I like to trim it as I go so I can reuse some of the scraps in the same serged strip. That's why this photo shows me trimming it on my leg instead of a more normal location, like a table or cutting mat.
Now you’ve got a really fun, colorful bit of serged t-shirt yarn.
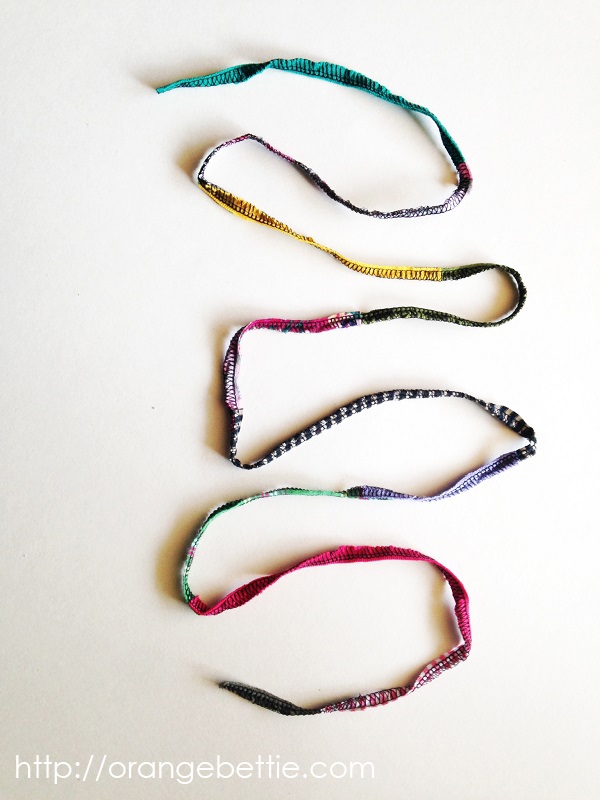
Fold it in half, and tie it in a knot about ¾” from the fold, creating a loop for your button.

(Depending on the size of your button, you may need to make the loop larger or smaller.)
Wrap the bracelet around your wrist to figure out where the ends of the wrap meet up with the loop. This is where you’ll sew down your button. Sew through both layers of the serged t-shirt yarn.

Done.
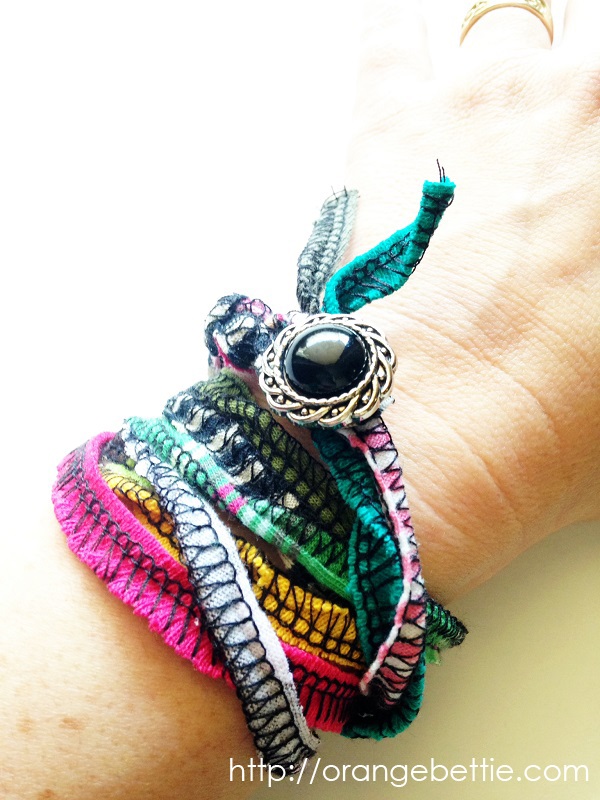
Now wrap it around your wrist and wait for the compliments to roll in!
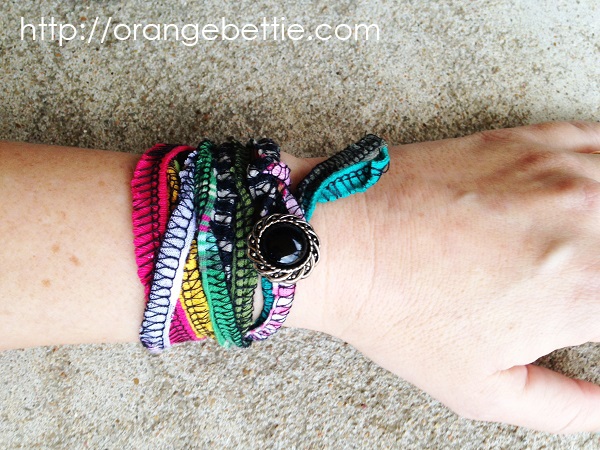
I wore it down to my daughter’s school, and the art teacher noticed it immediately. Even hinted that it would make a good end-of-year present. I won’t make her wait. She’ll get one for Valentine’s Day.
5 comments
Comments are closed.

Love, love, love this idea. Hard bracelets can be painful, but these are soft and look good.
Great project! Perfect quick, easy gifts.
How creative! I saw your blog link your sister posted on an Etsy team. I shared your link on my biz FB page. You can it here.
https://www.facebook.com/pages/Wits-End-Design/192227610815615?pnref=lhc
Oh wow, THANKS!! That's so sweet of you!